

Description
What a Rail Splice Does (And Why You Need One)
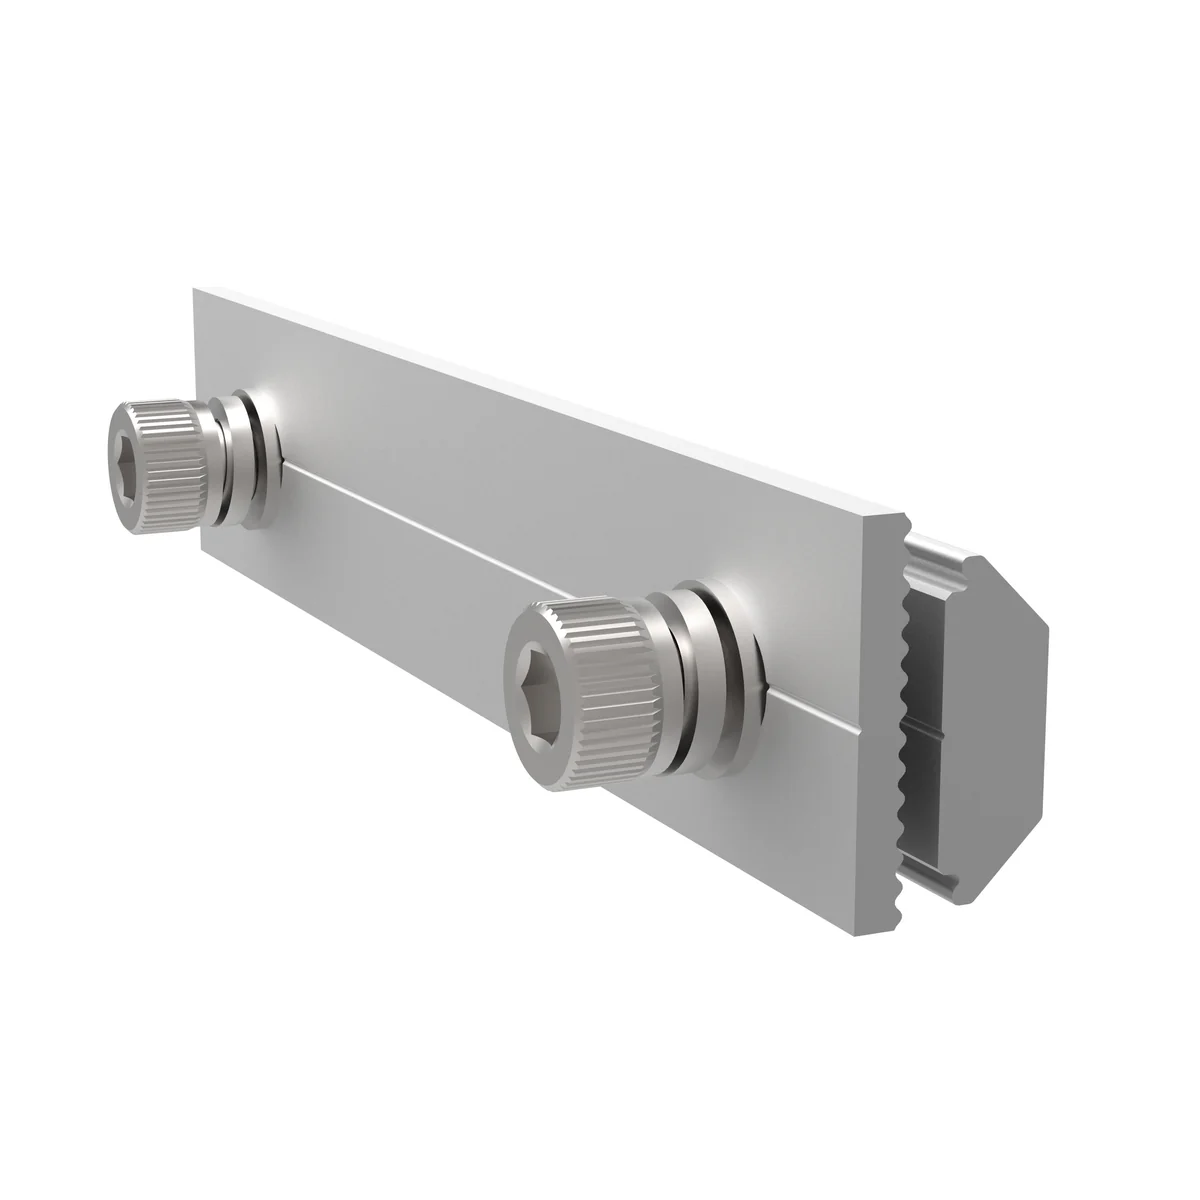
Standard solar mounting rails in Kenya come in fixed lengths — most commonly 4.8m, with 4.2m and 4.0m variants also available. When your panel array exceeds the length of a single rail, you need to join two rails together into one continuous span. That’s what a rail splice does: it slides into the inside profile of both rails, bridges the gap between them, and locks in place with stainless steel bolts to create a single continuous rail that can support panels across the joint.
Without a splice, two rails butt-jointed end-to-end have no structural connection — they’ll separate under wind loading, expand and contract independently with temperature, and may leave gaps where panels sit unsupported. A properly installed splice keeps the rail run rigid, prevents alignment drift over the years, and transfers wind loads continuously along the array rather than concentrating them at the joints.
When You Actually Need a Splice (Quantity Guide)
Most residential and small commercial installations in Kenya use enough rail length to require at least one or two splices. Here’s a practical guide to how many splices a typical installation needs, based on standard 4.8m rails and common landscape-orientation panel arrangements:
| Number of Panels (landscape) | Approximate Rail Length Per Row | Splices Needed Per Rail | Total Splices for Two Rails |
|---|---|---|---|
| 2 panels (~4.8m) | 1 × 4.8m rail | 0 splices | 0 |
| 4 panels (~9.6m) | 2 × 4.8m rails | 1 splice | 2 |
| 6 panels (~14.3m) | 3 × 4.8m rails | 2 splices | 4 |
| 8 panels (~19.1m) | 4 × 4.8m rails | 3 splices | 6 |
| 10 panels (~23.8m) | 5 × 4.8m rails | 4 splices | 8 |
| 12 panels (~28.6m) | 6 × 4.8m rails | 5 splices | 10 |
The rule of thumb: for each row of panels, you need (rails − 1) × 2 splices, because each row uses two parallel rails (one above, one below the panels) and each pair of joined rails needs one splice. A 12-panel single-row installation typically uses 10 splices total. A 12-panel installation split into two rows of 6 typically uses 8 splices (4 splices × 2 rows). Use our solar calculator if you’d like a quick estimate based on your specific layout.
Technical Specifications
| Specification | Detail |
|---|---|
| Product Code | CP-RS-A |
| Type | Internal-fit rail splice (slides inside the rail profile) |
| Length | 150mm |
| Material — Body | Aluminium alloy Al6005-T5 (extruded, anodised) |
| Material — Fasteners | Stainless steel SUS 304 (M6 or M8 depending on rail profile) |
| Finish | Clean anodised silver |
| Compatible Rail Profiles | Standard 26×42mm, 30×40mm, and 35×42mm aluminium solar mounting rails |
| Compatible Rail Lengths | 3.0m, 4.0m, 4.2m, 4.8m, 4.9m rails sold in the Kenyan market |
| Wind Load Rating | Designed for installations up to 60 m/s wind speed (per rail manufacturer standards) |
| Corrosion Resistance | Anodised aluminium + SUS 304 fasteners — suitable for coastal humidity |
| Operating Temperature | -40°C to +90°C (typical aluminium splice service range) |
| Service Life | 25+ years matching the panel and rail service life |
| Net Weight | Approximately 200g per splice (including fasteners) |
| Installation Method | Tilt-in slide, no drilling required |
| Country of Origin | Manufactured to international solar mounting standards; imported for Kenyan market |
Why the Al6005-T5 + SUS 304 Combination Matters
The material specification on a rail splice matters more than buyers often realise. Cheap splices made from generic aluminium without proper alloy specification can develop galvanic corrosion at the contact points with steel fasteners, especially in coastal locations like Mombasa, Malindi, and Diani where salt-laden air accelerates the process. After 2-3 years, those cheap splices begin to weaken at the joint, eventually causing rail misalignment under wind loading.
Three reasons our CP-RS-A specification is the right choice for Kenyan conditions:
- Al6005-T5 matches the rail alloy. Using the same aluminium grade for both the rail and the splice means there’s no electrochemical potential difference between them — no galvanic corrosion at the contact surface. Some imported splices use unspecified “aluminium” which can be a different alloy entirely, creating slow corrosion that’s invisible until the joint fails.
- SUS 304 fasteners survive coastal humidity. Plain steel fasteners rust within 12-18 months on the Kenyan coast. SUS 304 stainless steel resists corrosion for 25+ years even in salt-air conditions. Marine-grade SUS 316 is technically better but rarely justified for solar mounting — SUS 304 is the right cost-performance balance.
- Clean anodised finish prevents oxidation. Raw aluminium develops a white oxide layer over time that doesn’t affect strength but looks unsightly. Anodisation creates a sealed protective layer that maintains the clean silver appearance for the full service life of the installation.
How to Install a Rail Splice
Installation takes about 90 seconds per splice once you’ve done the first one. The CP-RS-A is designed for tilt-in installation, which means no drilling is required and the splice slides into position through the rail profile rather than being bolted on externally.
- Lay the two rails end-to-end on the roof or mounting structure, with a 3-5mm thermal expansion gap between them. Don’t butt them tight against each other — aluminium expands with temperature, and a tight joint will buckle on hot afternoons.
- Slide the splice halfway into the first rail through the open end. The splice should sit inside the inner channel of the rail profile, with 75mm extending into the rail and 75mm exposed.
- Slide the second rail onto the exposed half of the splice. Push the two rails together until the gap is reduced to the 3-5mm expansion allowance.
- Insert the SUS 304 bolts through the pre-drilled holes in the rail and through the corresponding holes in the splice. Most CP-RS-A splices have four bolt holes (two per side of the joint).
- Tighten the bolts evenly to approximately 12-15 Nm torque. Don’t over-tighten — aluminium threads strip easily.
- Verify rail alignment by sighting along the rail. Adjust splice position slightly if needed before final tightening.
For multi-rail installations, install all splices at the same height across the array — staggering the splice positions between the upper and lower rails (top rail spliced at position A, bottom rail spliced at position B) creates better load distribution than aligning all splices at the same location.
Where Solar Rail Splices Are Used
Rail splices appear in nearly every solar installation beyond the very smallest. Specific applications where they’re essential:
- Rooftop solar on residential houses — most 5-10kW residential installations use 6-12 panels per row, requiring 2-4 splices for the typical layout
- Commercial rooftop arrays — small commercial installations (banks, schools, clinics, hotels) typically use 20-50 panels with 8-20 splices total
- Ground-mounted solar farms — large-scale ground arrays use splice points every 4.8 metres along each rail run, often hundreds of splices per project
- Off-grid solar for telecom towers and remote sites — where panel arrays span beyond the length of a single rail
- Industrial solar projects on factory roofs — long rail spans across factory rooflines require splices at regular intervals
- Carport solar structures — vehicle-shading installations with panels mounted on horizontal beams use splices where beams are joined
- Solar pump and irrigation installations — agricultural solar projects with extended panel arrays
Related Solar Mounting Components
A complete solar mounting installation requires more than just rail splices. Browse the related accessories that work together as a system:
- Solar mounting rails: Aluminium rails in 4.8m, 4.2m, and 4.0m standard lengths
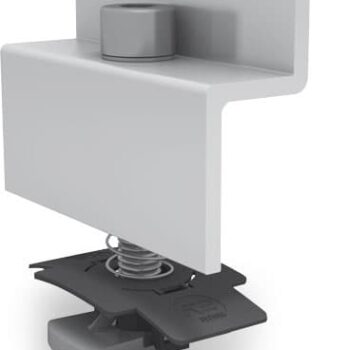
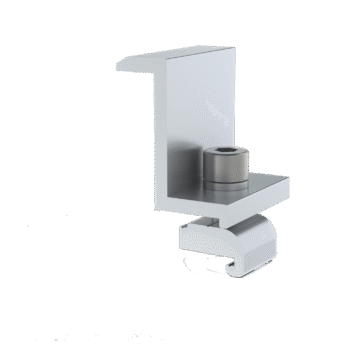
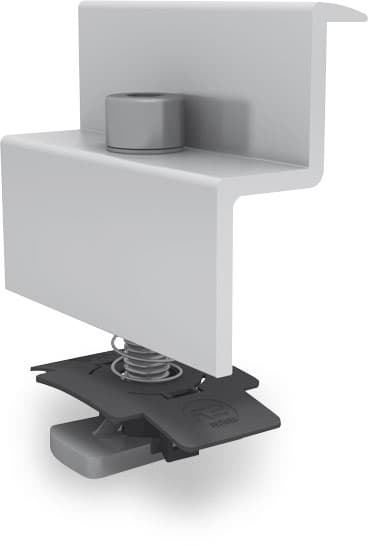
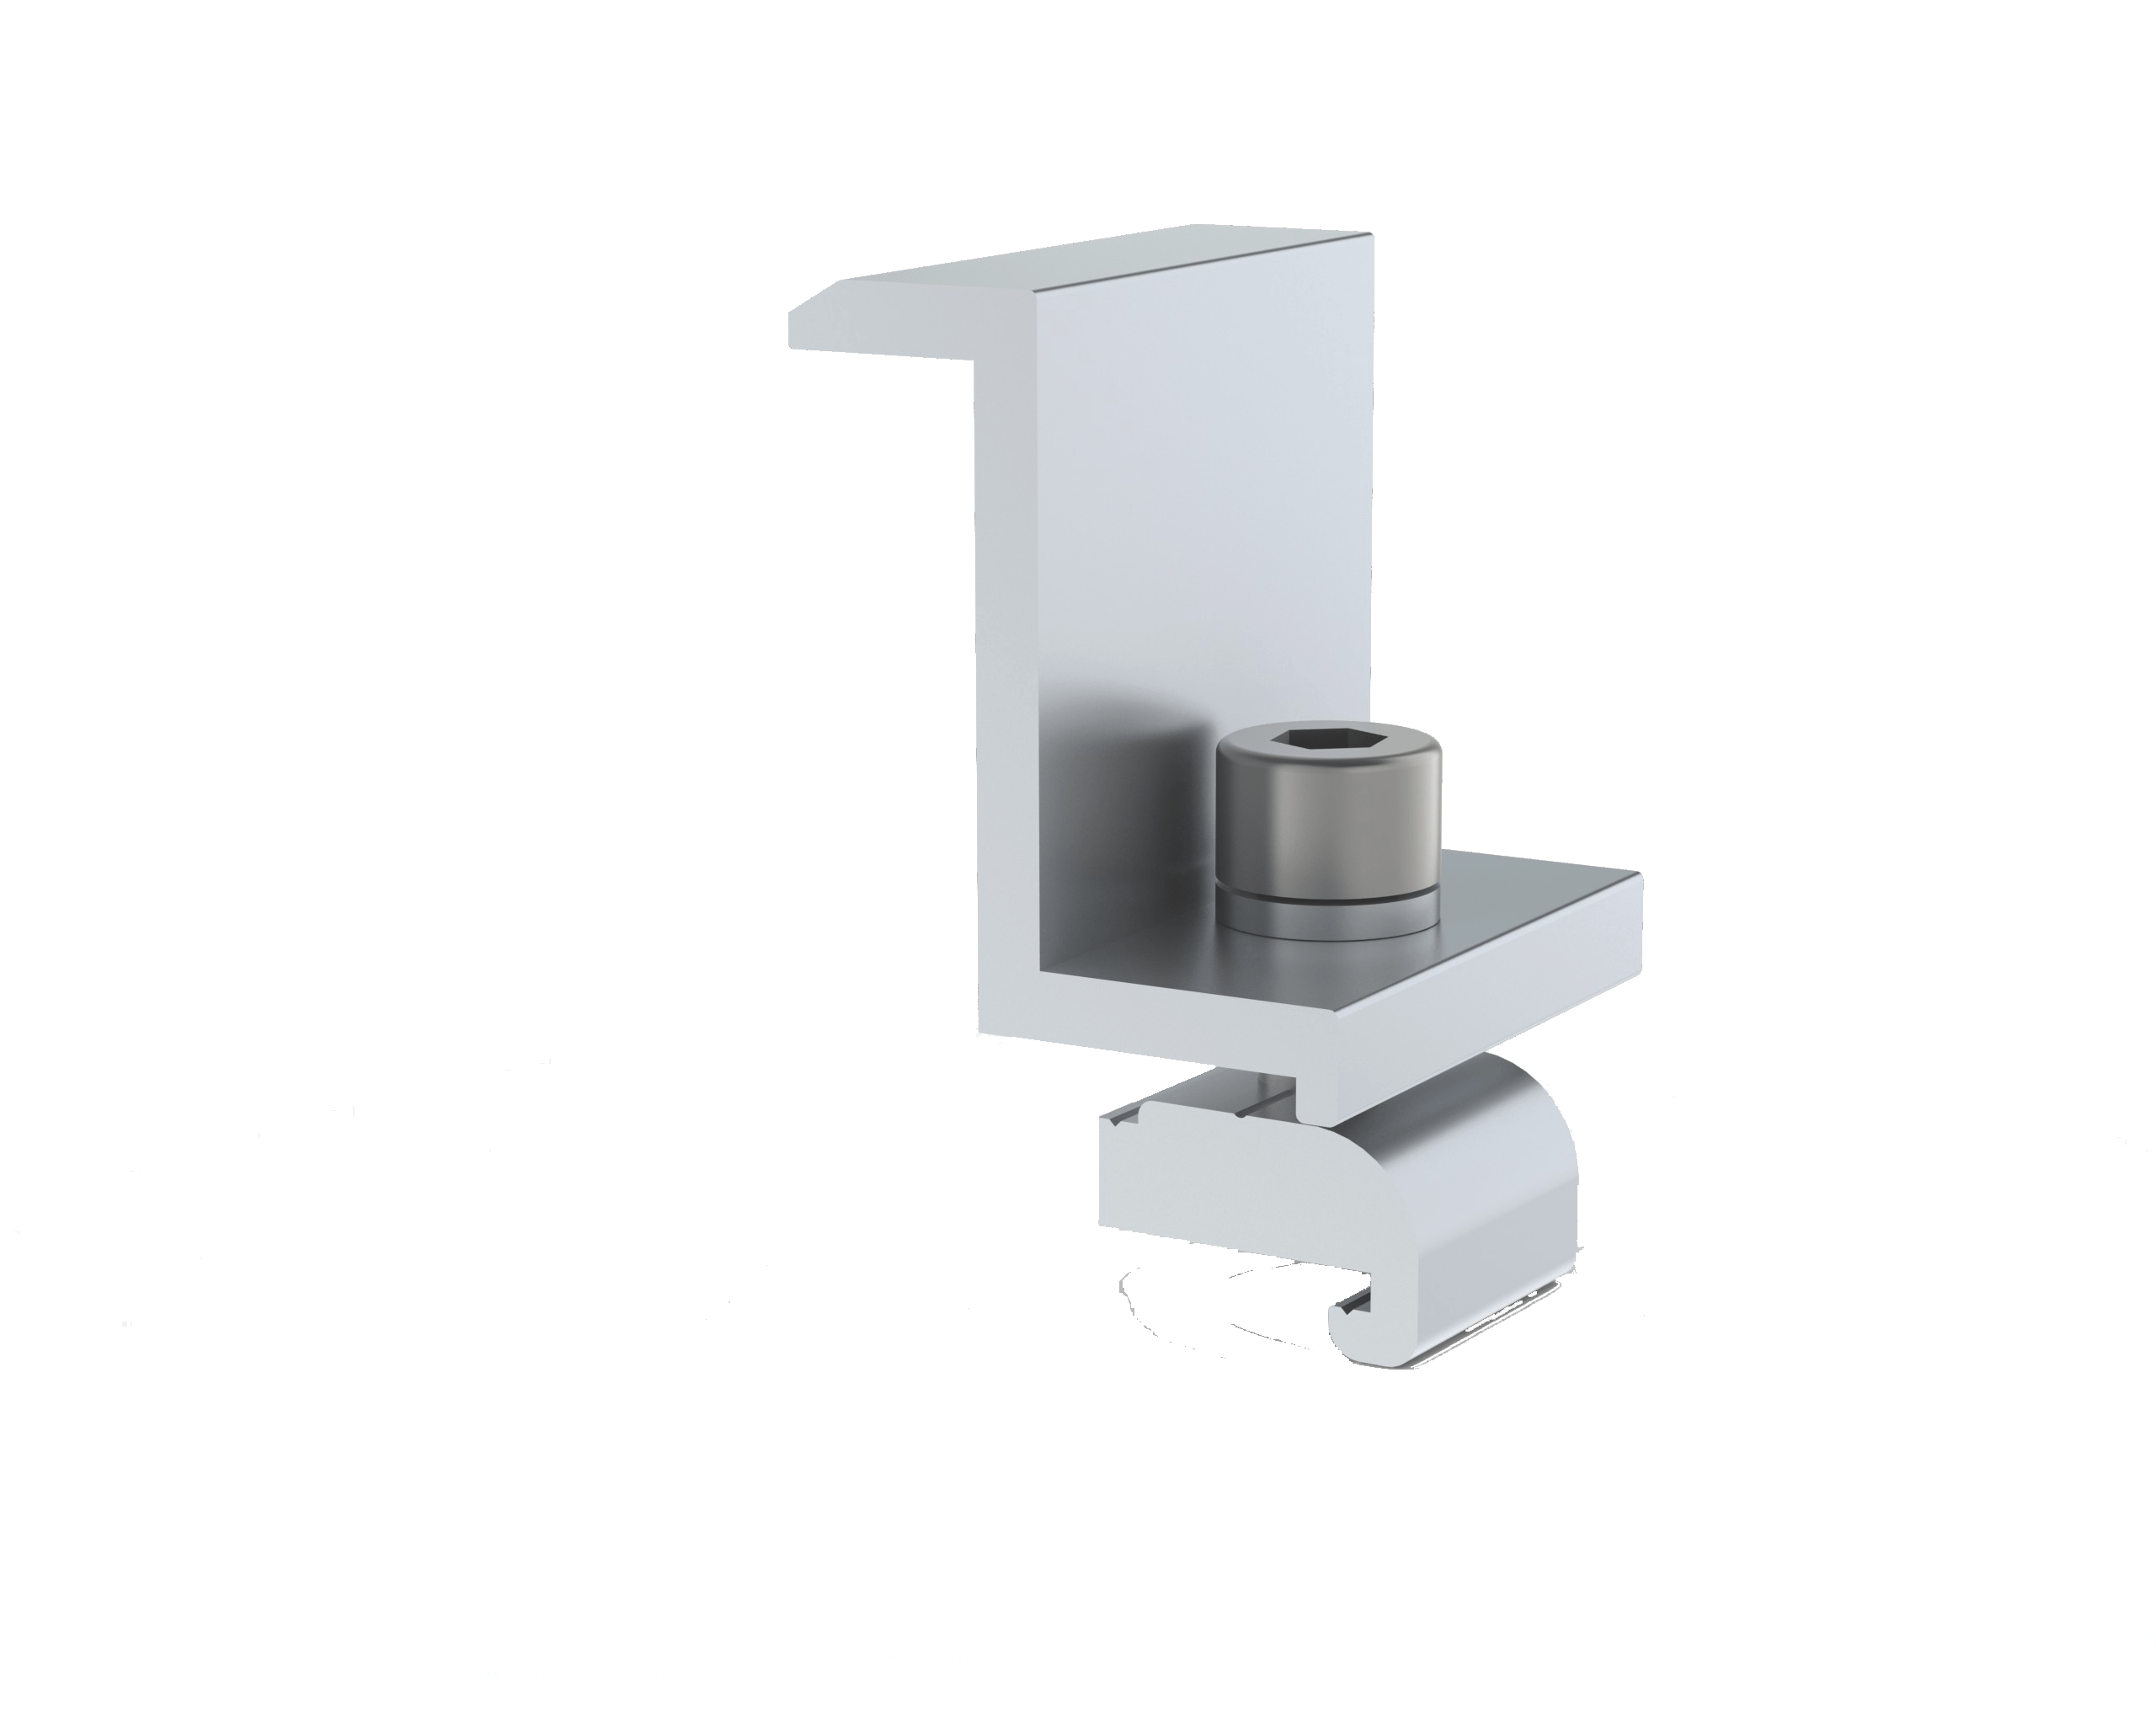
- Mid clamps: Available in 35mm and 40mm profiles for securing adjacent panels along the rail
- End clamps: Available in 33mm profile for terminating the outer edges of panel rows
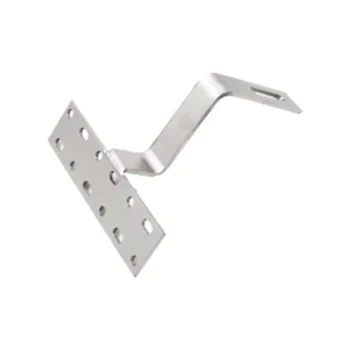
- L-feet and roof hooks: Anchoring brackets that fix the rails to roof structures
- T-bolts and ordinary bolts: Standard fasteners for rail-to-bracket connections
- Tilt-in nuts: Drop-in nuts that slide along the rail channel for adjustable bolt positions
- Carport structures: Complete carport mounting structures for vehicle-shading solar installations
For complete system planning, use our solar calculator to estimate the full bill of materials for your installation, or request a quote for project-priced bulk procurement of mounting components.

